Browsing, RAW 9, and Local AI
Use this guide to browse folders, inspect a photograph, adjust a supported RAW file, and optionally search or review images with local AI. Requirements and the dated App Store submission status are on the RawCullBrowse overview.
Browse Your Photo Folders
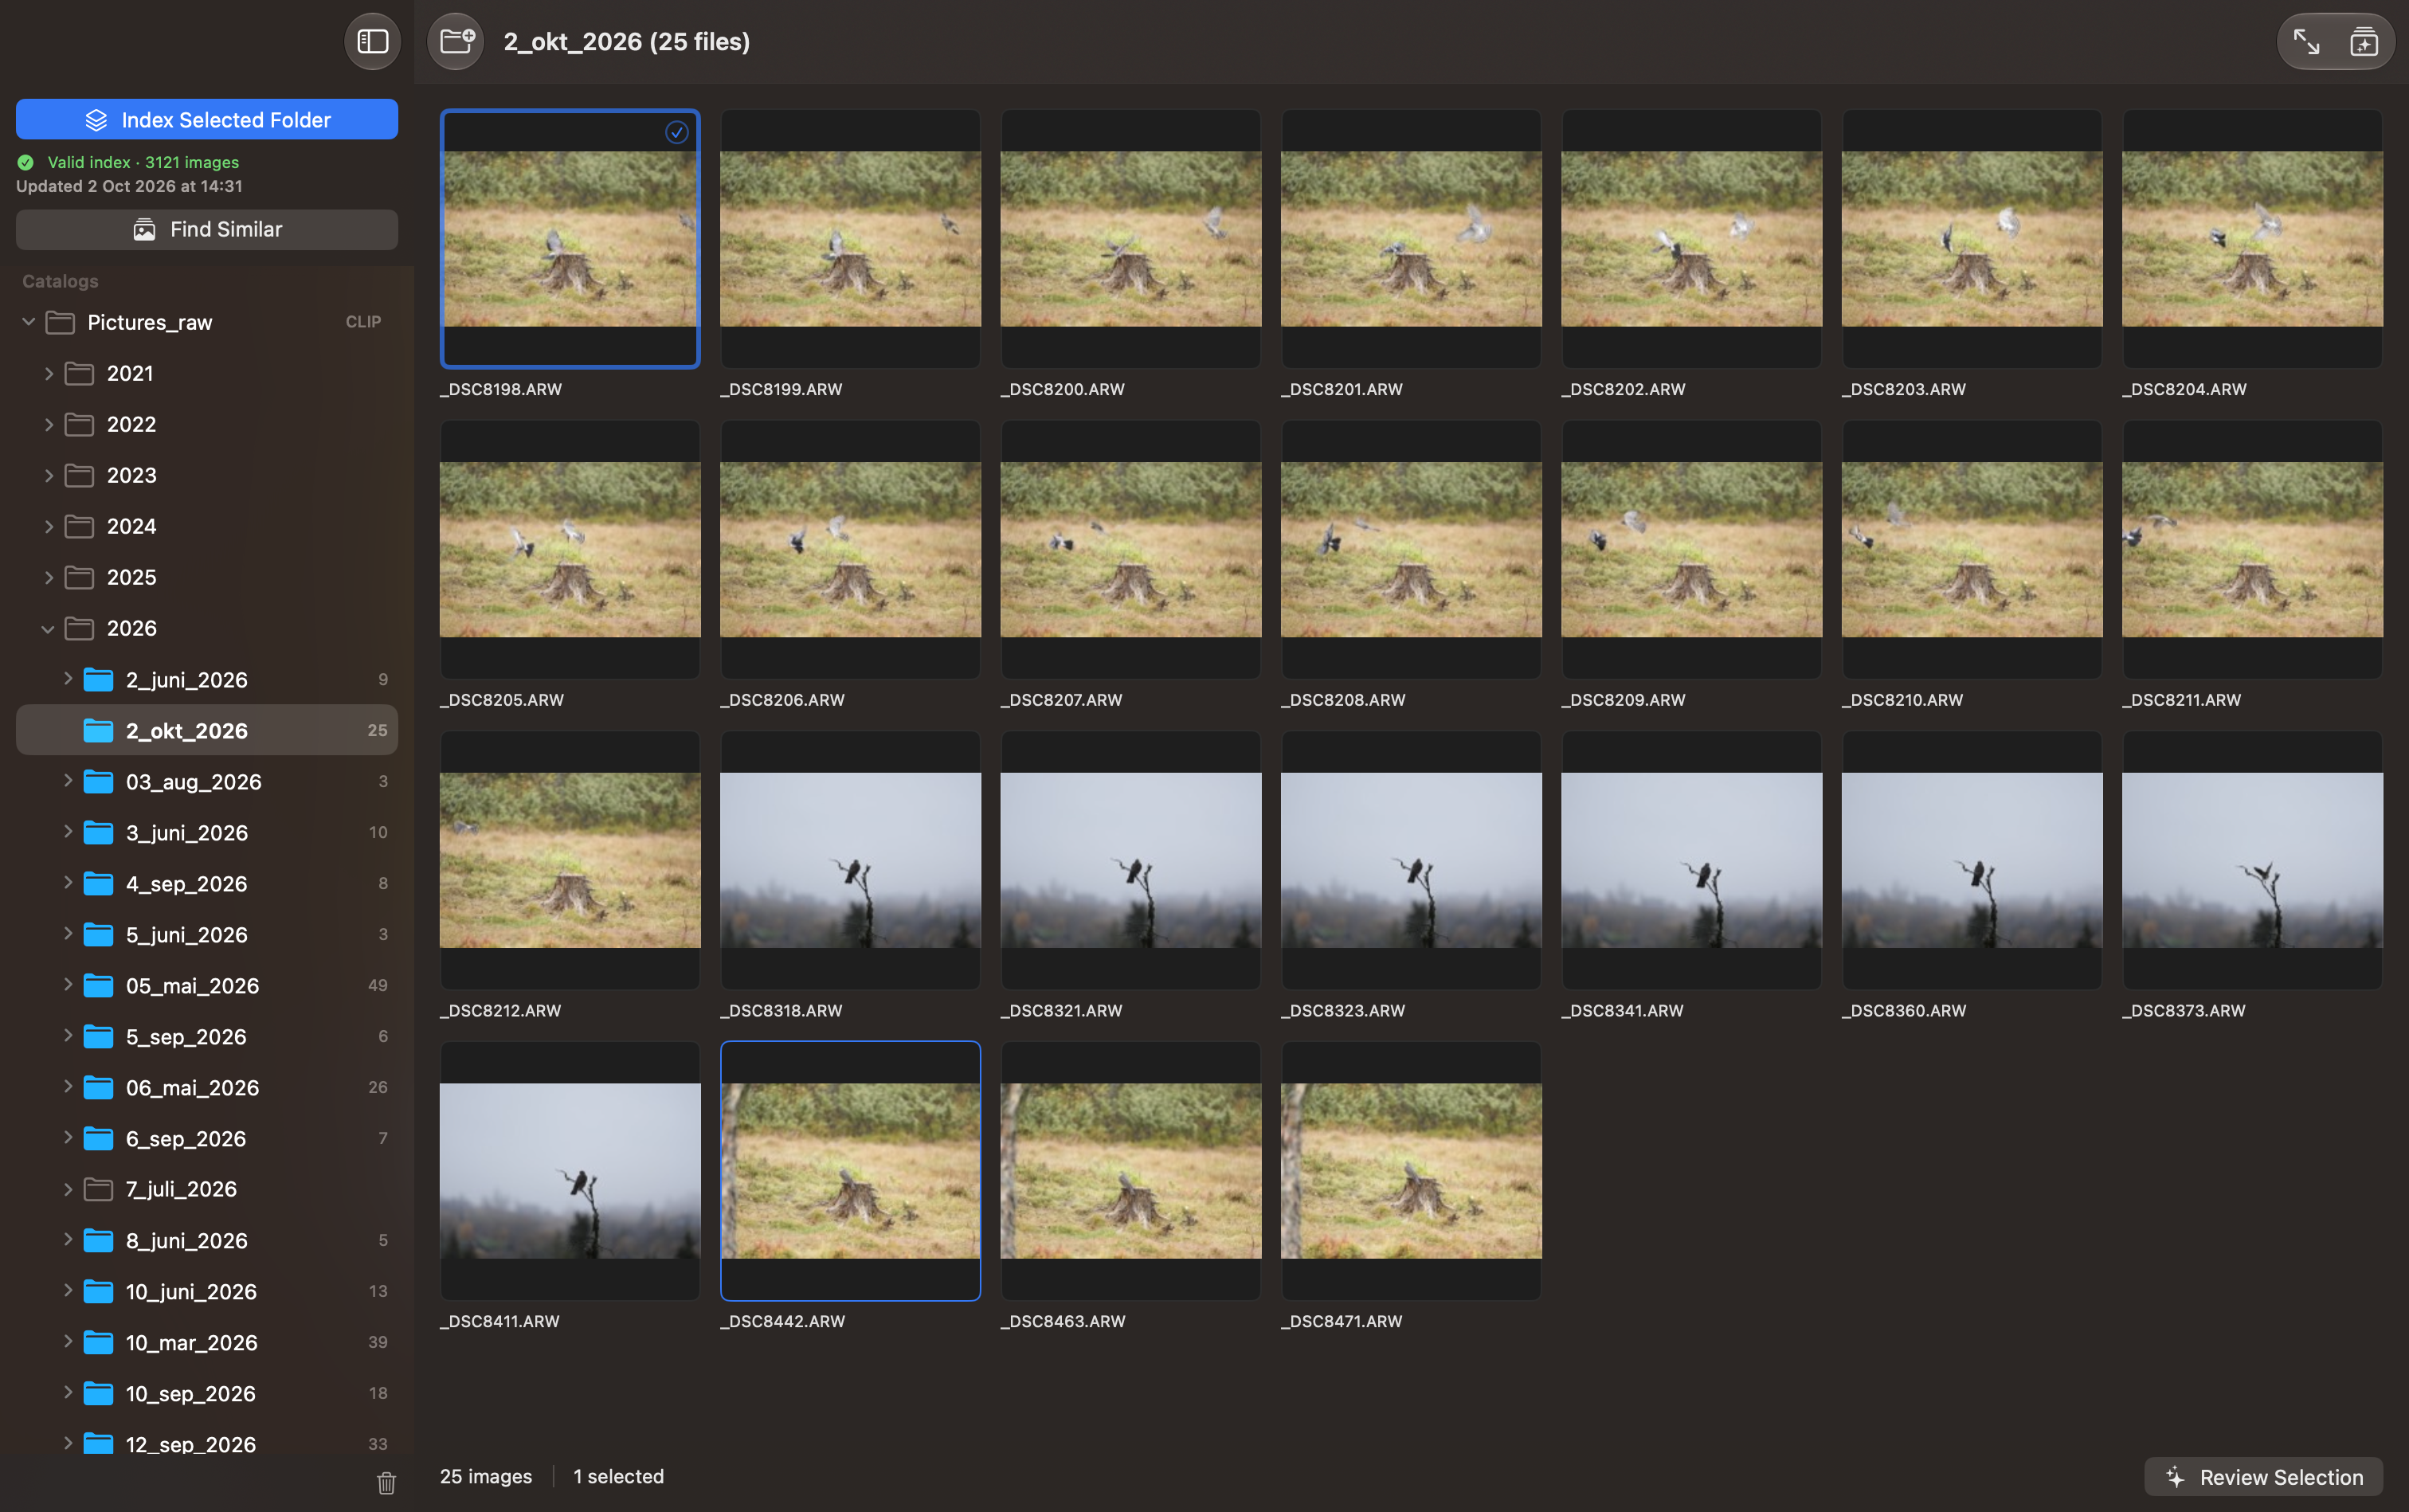
Add a local folder through the macOS folder picker, explore its nested folders in the sidebar, and select photographs in the thumbnail grid. The folder browser discovers JPEG, PNG, TIFF, and RAW formats registered by its RAW loader, including Sony ARW and DNG. When a folder contains rendered images such as JPEGs, the grid shows those in preference to its RAW files. Camera information and RAW development depend on the file and the support available on your Mac.
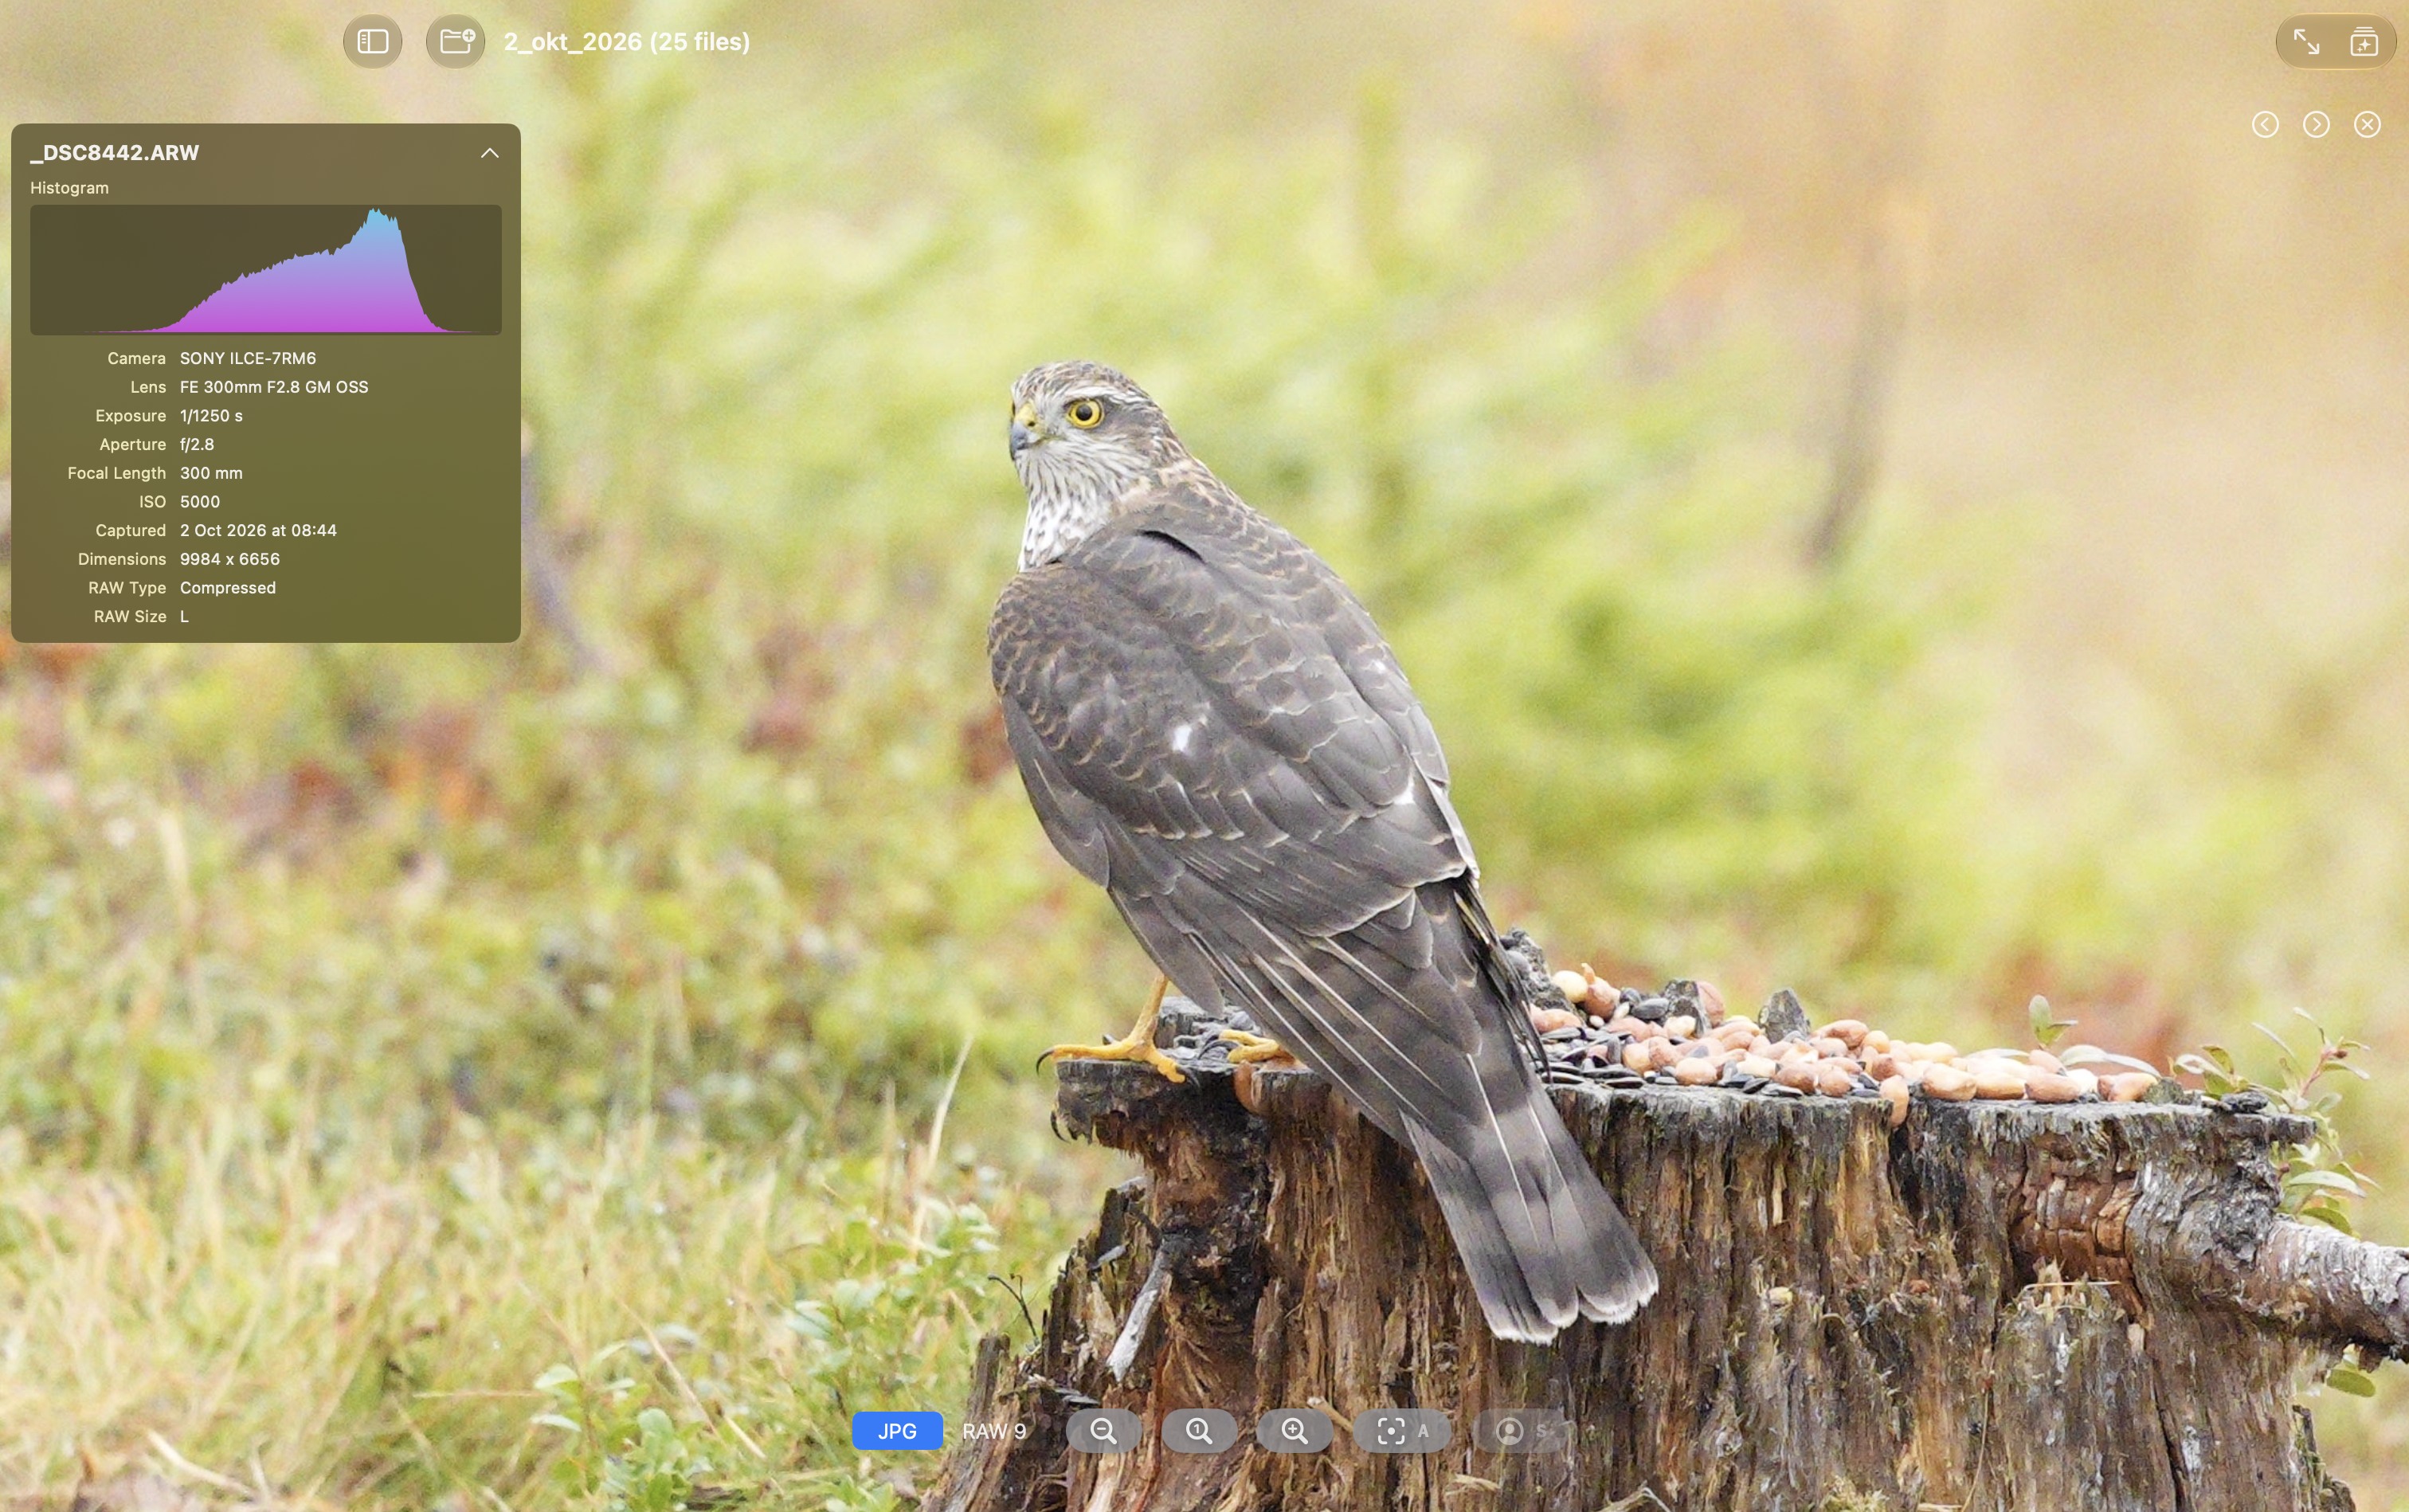
Double-click a photograph to open Zoom View. Pan, change magnification, and navigate between photos with the keyboard. The information panel shows a histogram and available metadata, including camera, lens, exposure, aperture, focal length, ISO, capture date, and image dimensions. Focus-point information is available when recorded in supported camera metadata.
To copy originals, select files in the grid and choose Edit > Copy or press ⌘C, then paste into a Finder folder with ⌘V. In Zoom View, Copy uses the displayed file.
JPEG Preview or RAW Development
For RAW photographs, the JPG view uses a matching JPEG sidecar when available, or the embedded preview. This gives a quick view of the camera’s rendering. Switch to RAW 9 to develop the sensor data with Apple’s decoder when the file supports it.
RawCullBrowse checks each file for RAW 9 or RAW 9 DNG decoder support. A file that can be browsed is not necessarily eligible for RAW 9 adjustments; the RAW 9 controls appear only when the decoder supports that file.
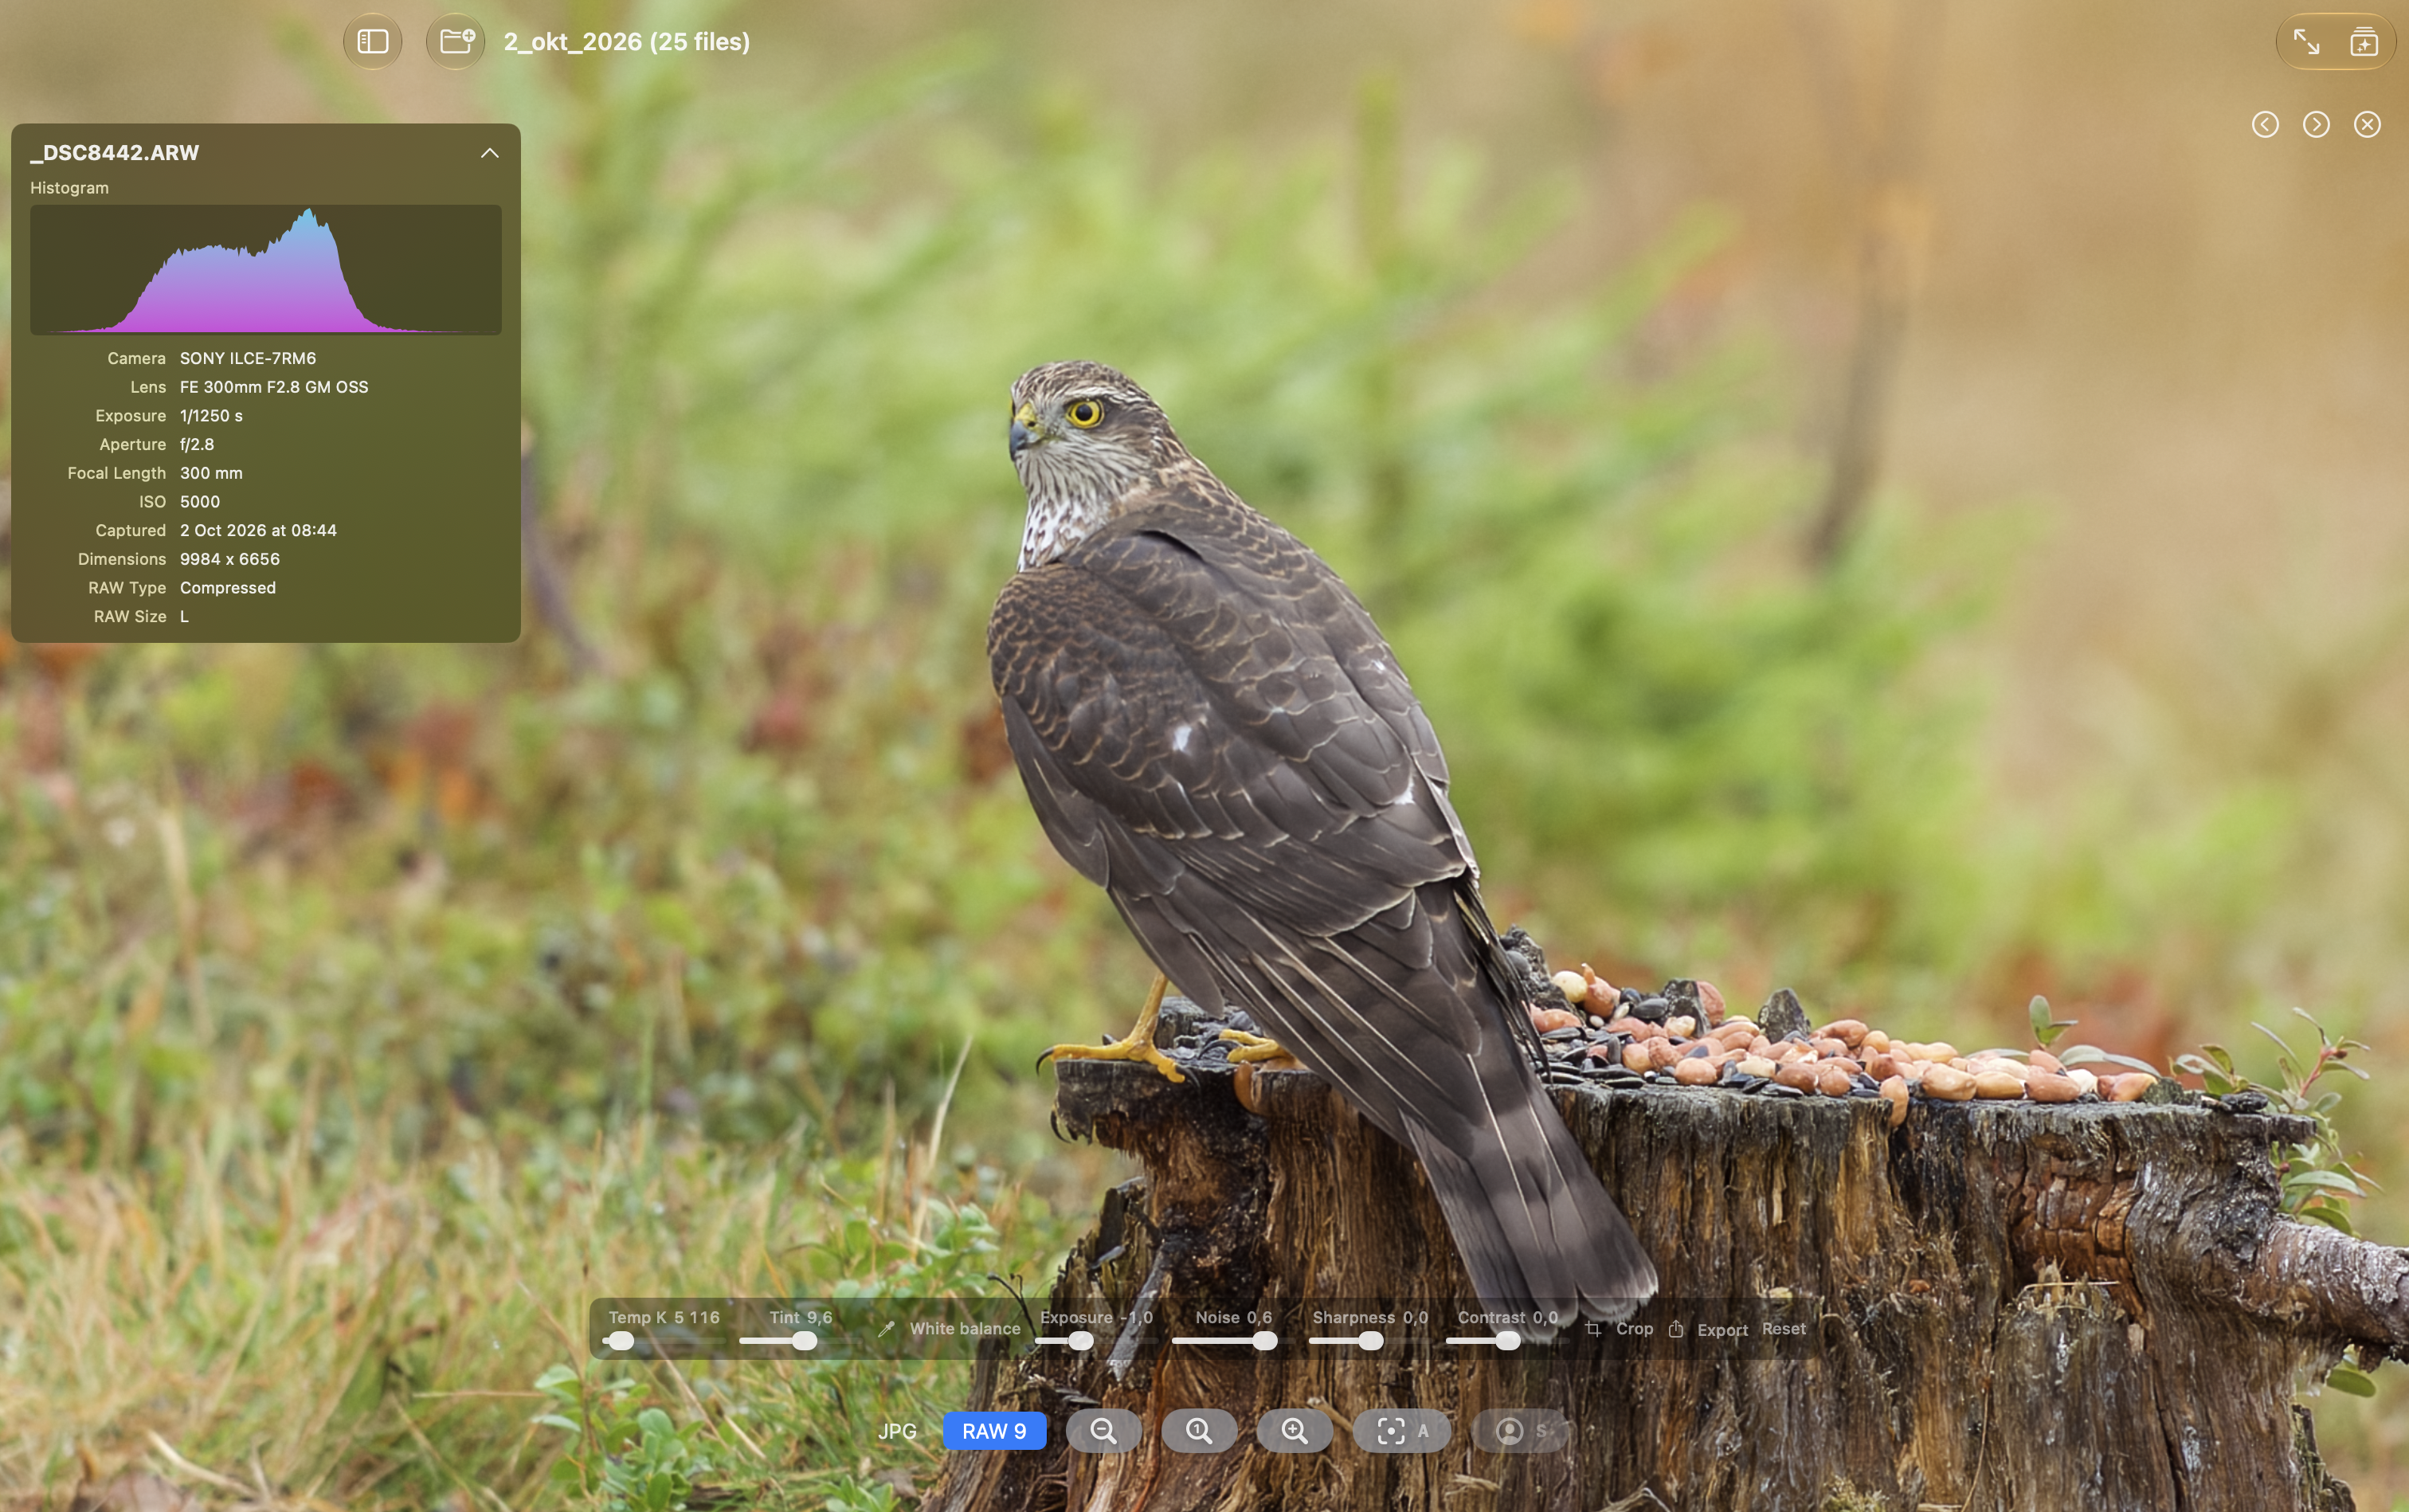
The RAW 9 controls provide:
- White balance: adjust temperature and tint, or use the eyedropper on a neutral white or gray area.
- Exposure: adjust brightness from −3 to +3 stops.
- Noise, Sharpness, and Contrast: adjust offsets from the decoder’s camera defaults.
- Crop: choose the area to retain in the developed image.
- Reset: return to the original development settings.
- Export: save the developed image in a format supported by the Mac, with additional HEIF (10-bit) and OpenEXR options. PNG and TIFF exports use 16-bit output.
Adjustments are saved automatically in an app-specific .rawcull-raw9.json sidecar beside the original RAW file. The original remains unchanged. These sidecars are separate from XMP files used by other editors. Exports run in a background queue and continue after Zoom View closes.
Three Optional AI Models
Browsing and RAW 9 adjustments work without downloading AI models. Enable only the models you need in RawCullBrowse > Settings > AI Models, then open Download AI Models.
| Model | What it adds |
|---|---|
| DataComp CLIP | Folder indexing, natural-language semantic search, and Find Similar to rank visually related photographs. |
| Meta SAM 3 | Subject segmentation for Deep Review, enriched with CLIP subject labels, available autofocus metadata, and a whole-frame sharpness score. |
| Qwen3-VL-2B-Instruct | Local vision-language prompts and structured assessments of one or more selected photographs. |
Apple manages the optional model downloads through Managed Background Assets. Once installed, model inference runs locally. The download window includes progress, cancellation, retry, removal, model information, and licence links. SAM 3 requires acceptance of its bundled licence before downloading.
The Manual AI settings tab also lets you select and verify compatible local model bundles. A manual selection overrides that model’s managed download until you clear it.
Search and Review a Folder
- Download or select a valid CLIP model.
- Select the folder you want to search, including its subfolders.
- Choose Index Selected Folder. Indexing starts only when requested and updates incrementally.
- Enter a natural-language description in the semantic search field and run the search.
- Open a result for close inspection, or select an indexed photograph and choose Find Similar.
- Use Review Selection for the available AI review tools. SAM 3 Deep Review offers Automatic, Fast, and Full scopes; Qwen can assess selected photographs locally.
CLIP indexing discovers JPEG, PNG, HEIC/HEIF, TIFF, and Sony ARW files recursively; its supported formats differ from those of the folder browser. Indexes are stored in a hidden .clipbench directory inside the selected root folder. Search results can be limited to 10–500 images, with a default of 50. Settings > CLIP Indexes manages indexes, while Memory and Cache control image caching.
Local Processing and Storage
Photographs, metadata, search queries, prompts, embeddings, and AI assessments are processed on your Mac and are not sent to the developer. The app accesses folders you select through macOS permissions. Image caches, settings, and models are stored locally; RAW adjustment sidecars and semantic indexes are saved beside or within your photo folders.
Model downloads require a network connection, but do not upload photographs or prompts. You can clear image caches in Settings, remove downloaded models in the download window, and remove .clipbench indexes in Finder. Indexes and sidecars in photo folders remain when the app is removed.
For rating and burst culling before editing, see the separate RawCull documentation.
Feedback
Was this page helpful?
Glad to hear it! Please tell us how we can improve.
Sorry to hear that. Please tell us how we can improve.