Essential information to get started with RawCull. Read these pages in order before using the application for the first time.
1 - Important Information
Before You Start
Please review these important points before using RawCull for the first time.
System Requirements
- macOS Tahoe and later
- Apple Silicon (M-series)
- Sufficient disk space for your photo library
Key Concepts
What is Photo Culling?
Photo culling is the process of reviewing images from a photo shoot and selecting only the best ones for professional editing. Your typical workflow is:
- Copy images from your camera to a temporary catalog on your Mac
- Review each photo and mark the ones worth keeping
- Rate the marked photos based on quality and editing priority
- Copy only the marked and rated photos to a final catalog
- Import the final catalog into your photo editing application
Privacy & Security
RawCull prioritizes your privacy and security with the following measures:
- Digitally Signed & Notarized: The application is signed and notarized by Apple, protecting against tampering and ensuring authenticity
- Sandboxed Application: Runs in a secure sandbox environment, limiting access to only the files and folders you explicitly grant
- Local-Only Processing: All photo processing happens entirely on your Mac—no cloud synchronization or data collection
- No Telemetry: RawCull does not collect, transmit, or store any usage data or personal information
- File System Security: Uses macOS security features to ensure safe access to your photo library with explicit user permissions
- Default rsync: Uses default
/usr/bin/rsyncfor the actual copy of files, also includes a--dry-run(simulate) copy - Non destructive: RawCull is only copying files, no delete or overwrite of files
Troubleshooting
If you encounter any issues:
- Ensure macOS Tahoe or later is installed
- Restart RawCull if the interface becomes unresponsive
- Check that photos are stored in a supported format (only Sony A1 mkI and mkII ARW files)
- Verify you have read/write permissions for photo directories
2 - Getting Started Guide
Note: Please read the Important Information page first if you haven’t already.
Getting Started with RawCull
What is a Photo Culling Application?
A photo culling application is specialized software designed to help photographers efficiently review, organize, and select the best images from a photo shoot. The typical workflow is:
- Copy from Camera: Images are copied from your camera to a temporary catalog on your Mac
- Review & Mark: You review each image and mark the keepers you want to keep
- Rate Images: Rate the marked photos based on quality and editing priority
- Copy Keepers: Only the marked and rated photos are copied to a final catalog for editing
- Edit: Use a dedicated photo editing application to edit the selected images
RawCull makes this process fast and intuitive, allowing you to review hundreds of photos in a reasonable timeframe and prepare only your best shots for professional editing.
Launching RawCull
After installation, RawCull appears in your Applications folder. Simply double-click to launch the application. You may cull only one catalog a time. It is advisable to conceal the sidebar by clicking on the left-upper icon, which toggles the sidebar’s visibility.
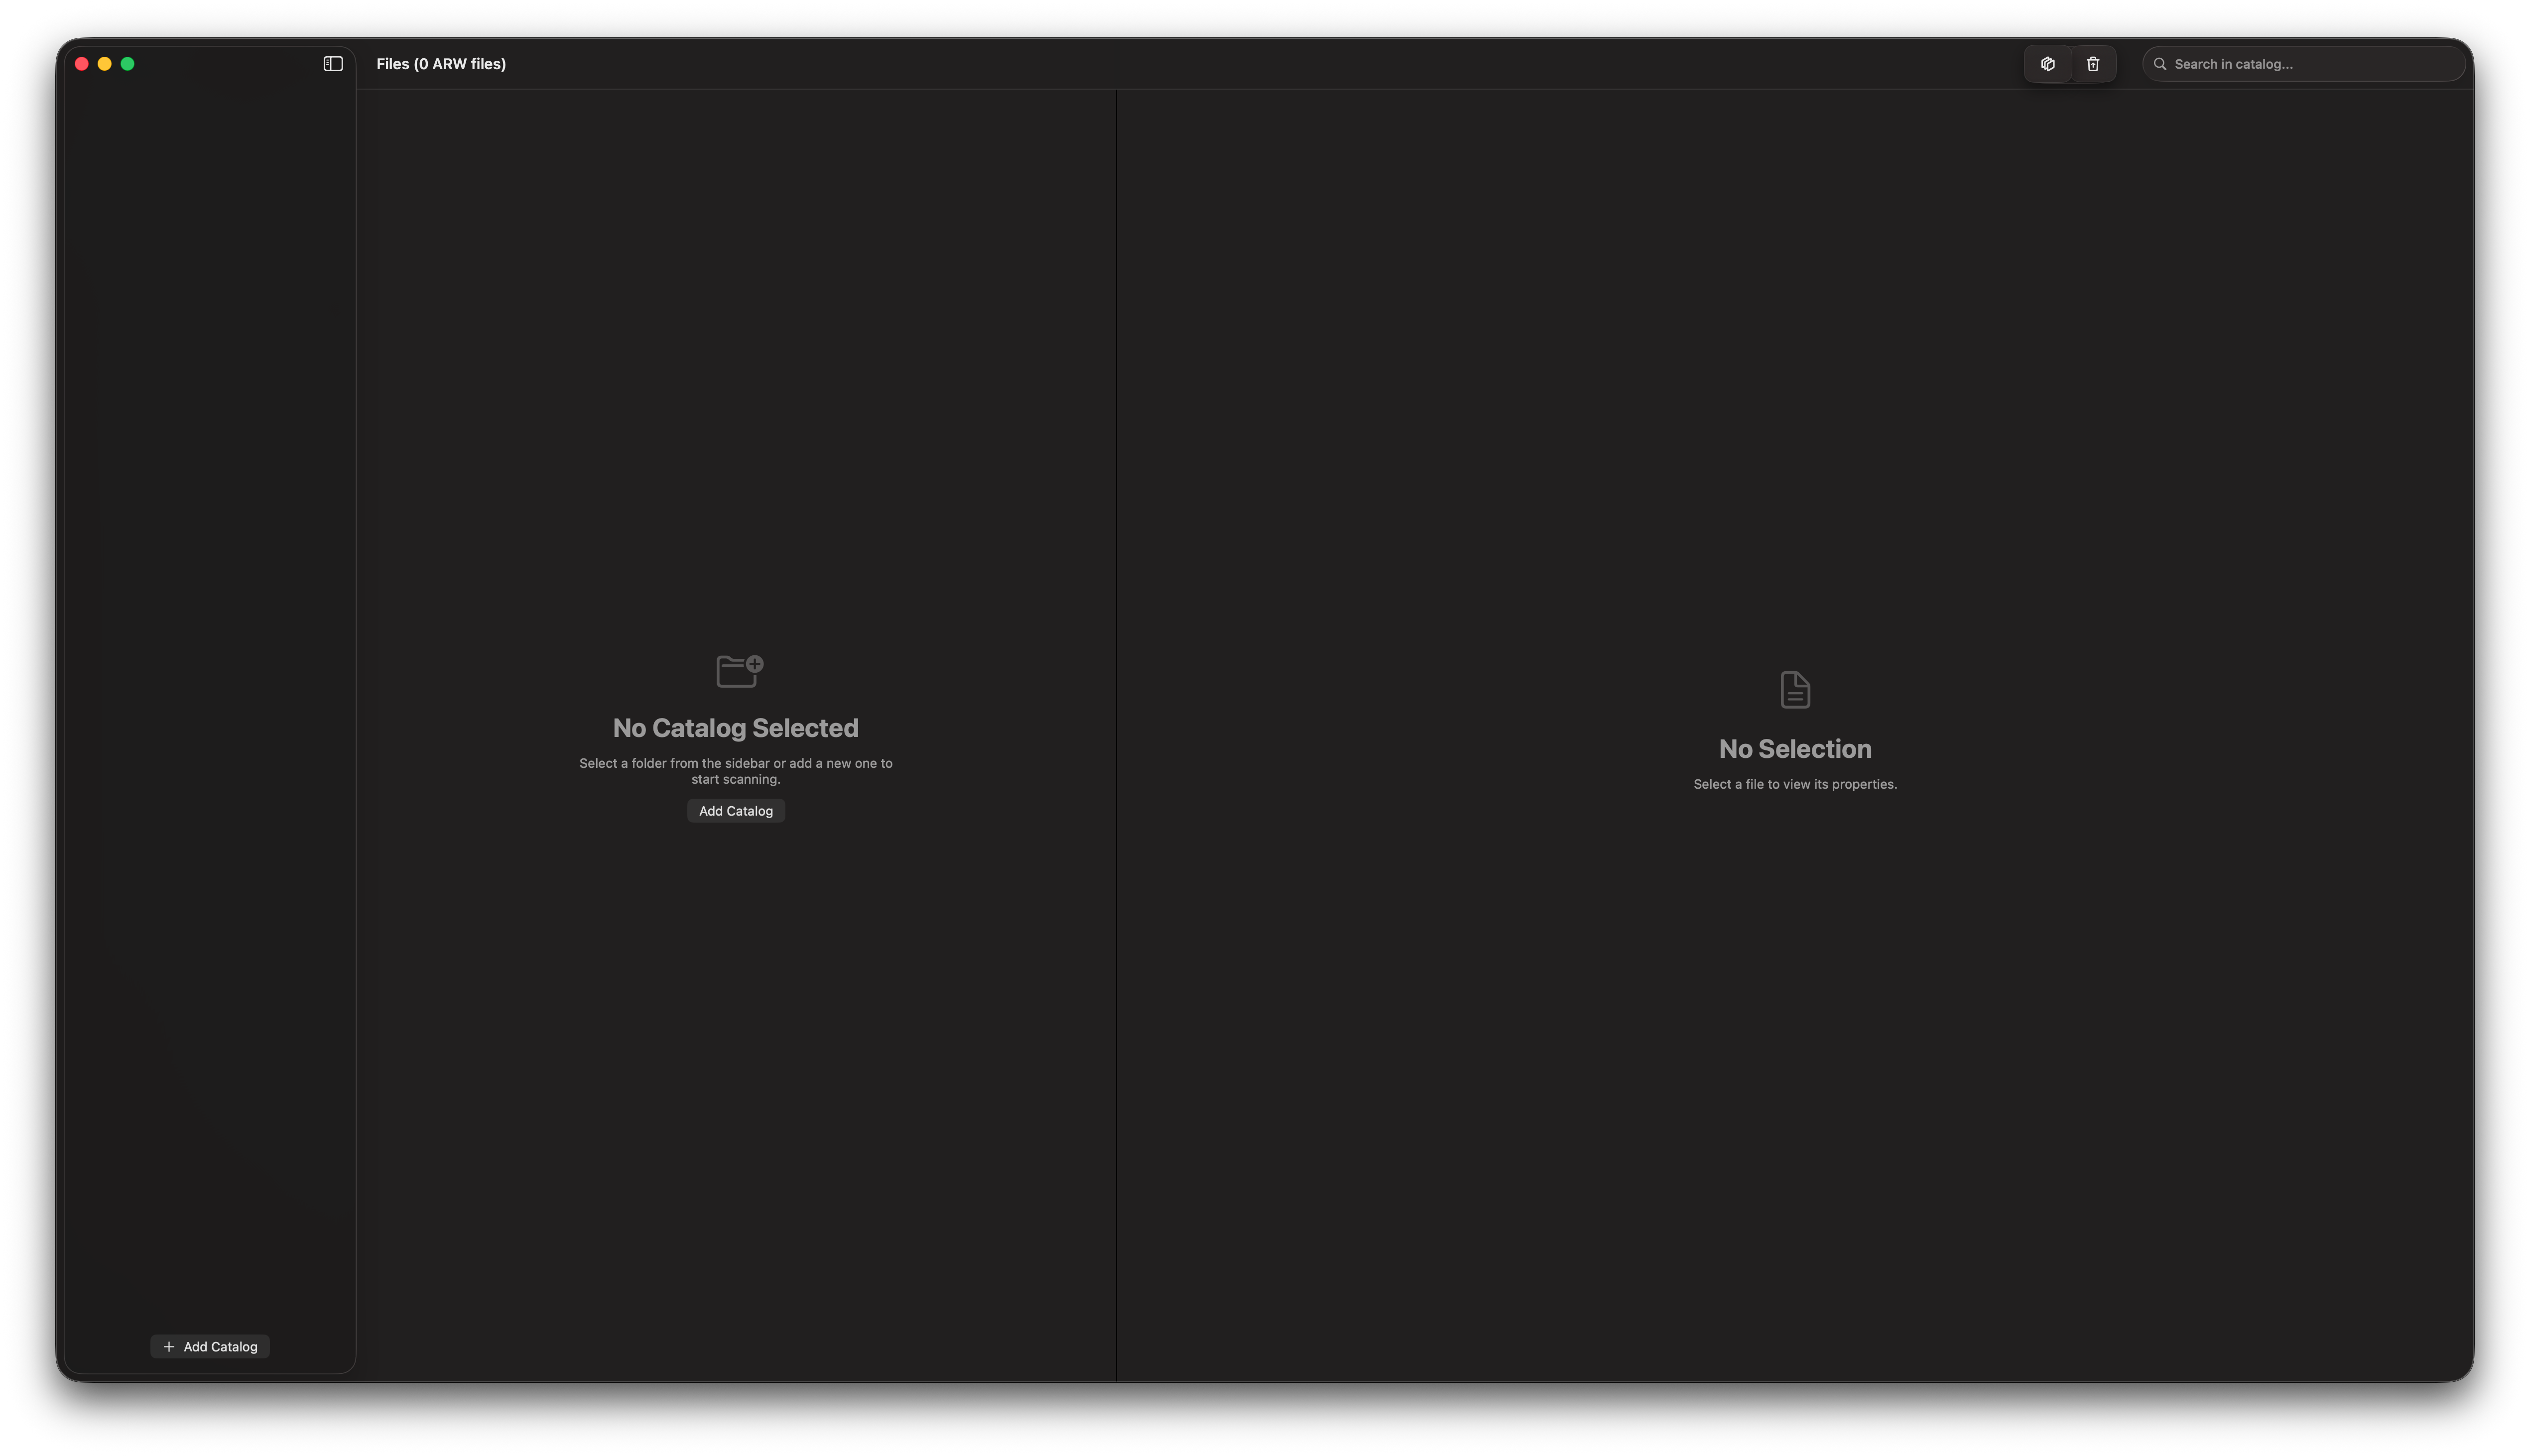
Once opened, the main interface presents you with options to browse and select a folder containing your photos.
Opening Your Photo Folder
RawCull works with any folder containing supported image formats:
- Sony RAW formats (Sony A1 mkI & mkII ARW files)
Use the folder selection dialog to navigate to your photo directory. RawCull will scan and display all compatible images.
Automatic JPG Generation
RawCull can create JPG files (approximately 10 MB each downsampled 50% from included jpg in ARW file) from all RAW files in your temporary catalog. These JPGs are stored in the same location as the ARW files and can be viewed using the standard macOS Photo Viewer application, providing quick preview access without requiring a dedicated RAW viewer. This is particularly useful for fast browsing or sharing previews with colleagues during the culling process.
The Interface
Once you’ve selected a folder, RawCull displays your photo library in a clear, organized layout:
- Main viewing area shows your current photo and thumbnail grid
- Navigation controls allow you to move through your library
- Marking tools let you flag images for keeping or culling
- Zoom controls help you inspect details
Next Steps
Continue to the Culling Photos guide to learn how to mark, review, and finalize your culled collection.
3 - Culling Photos
How to Cull Your Photos
This guide walks you through the process of culling photos in RawCull, from scanning your library to finalizing your selections.
Step 1: Select Your Temporary Catalog
It is advisable to conceal the sidebar by clicking on the left-upper icon, which toggles the sidebar’s visibility.
After copying images from your camera to a temporary catalog on your Mac, select that folder in RawCull. The application scans all images and generates previews for quick review. This process reads your photo metadata and creates a visual index of all images in the selected directory.
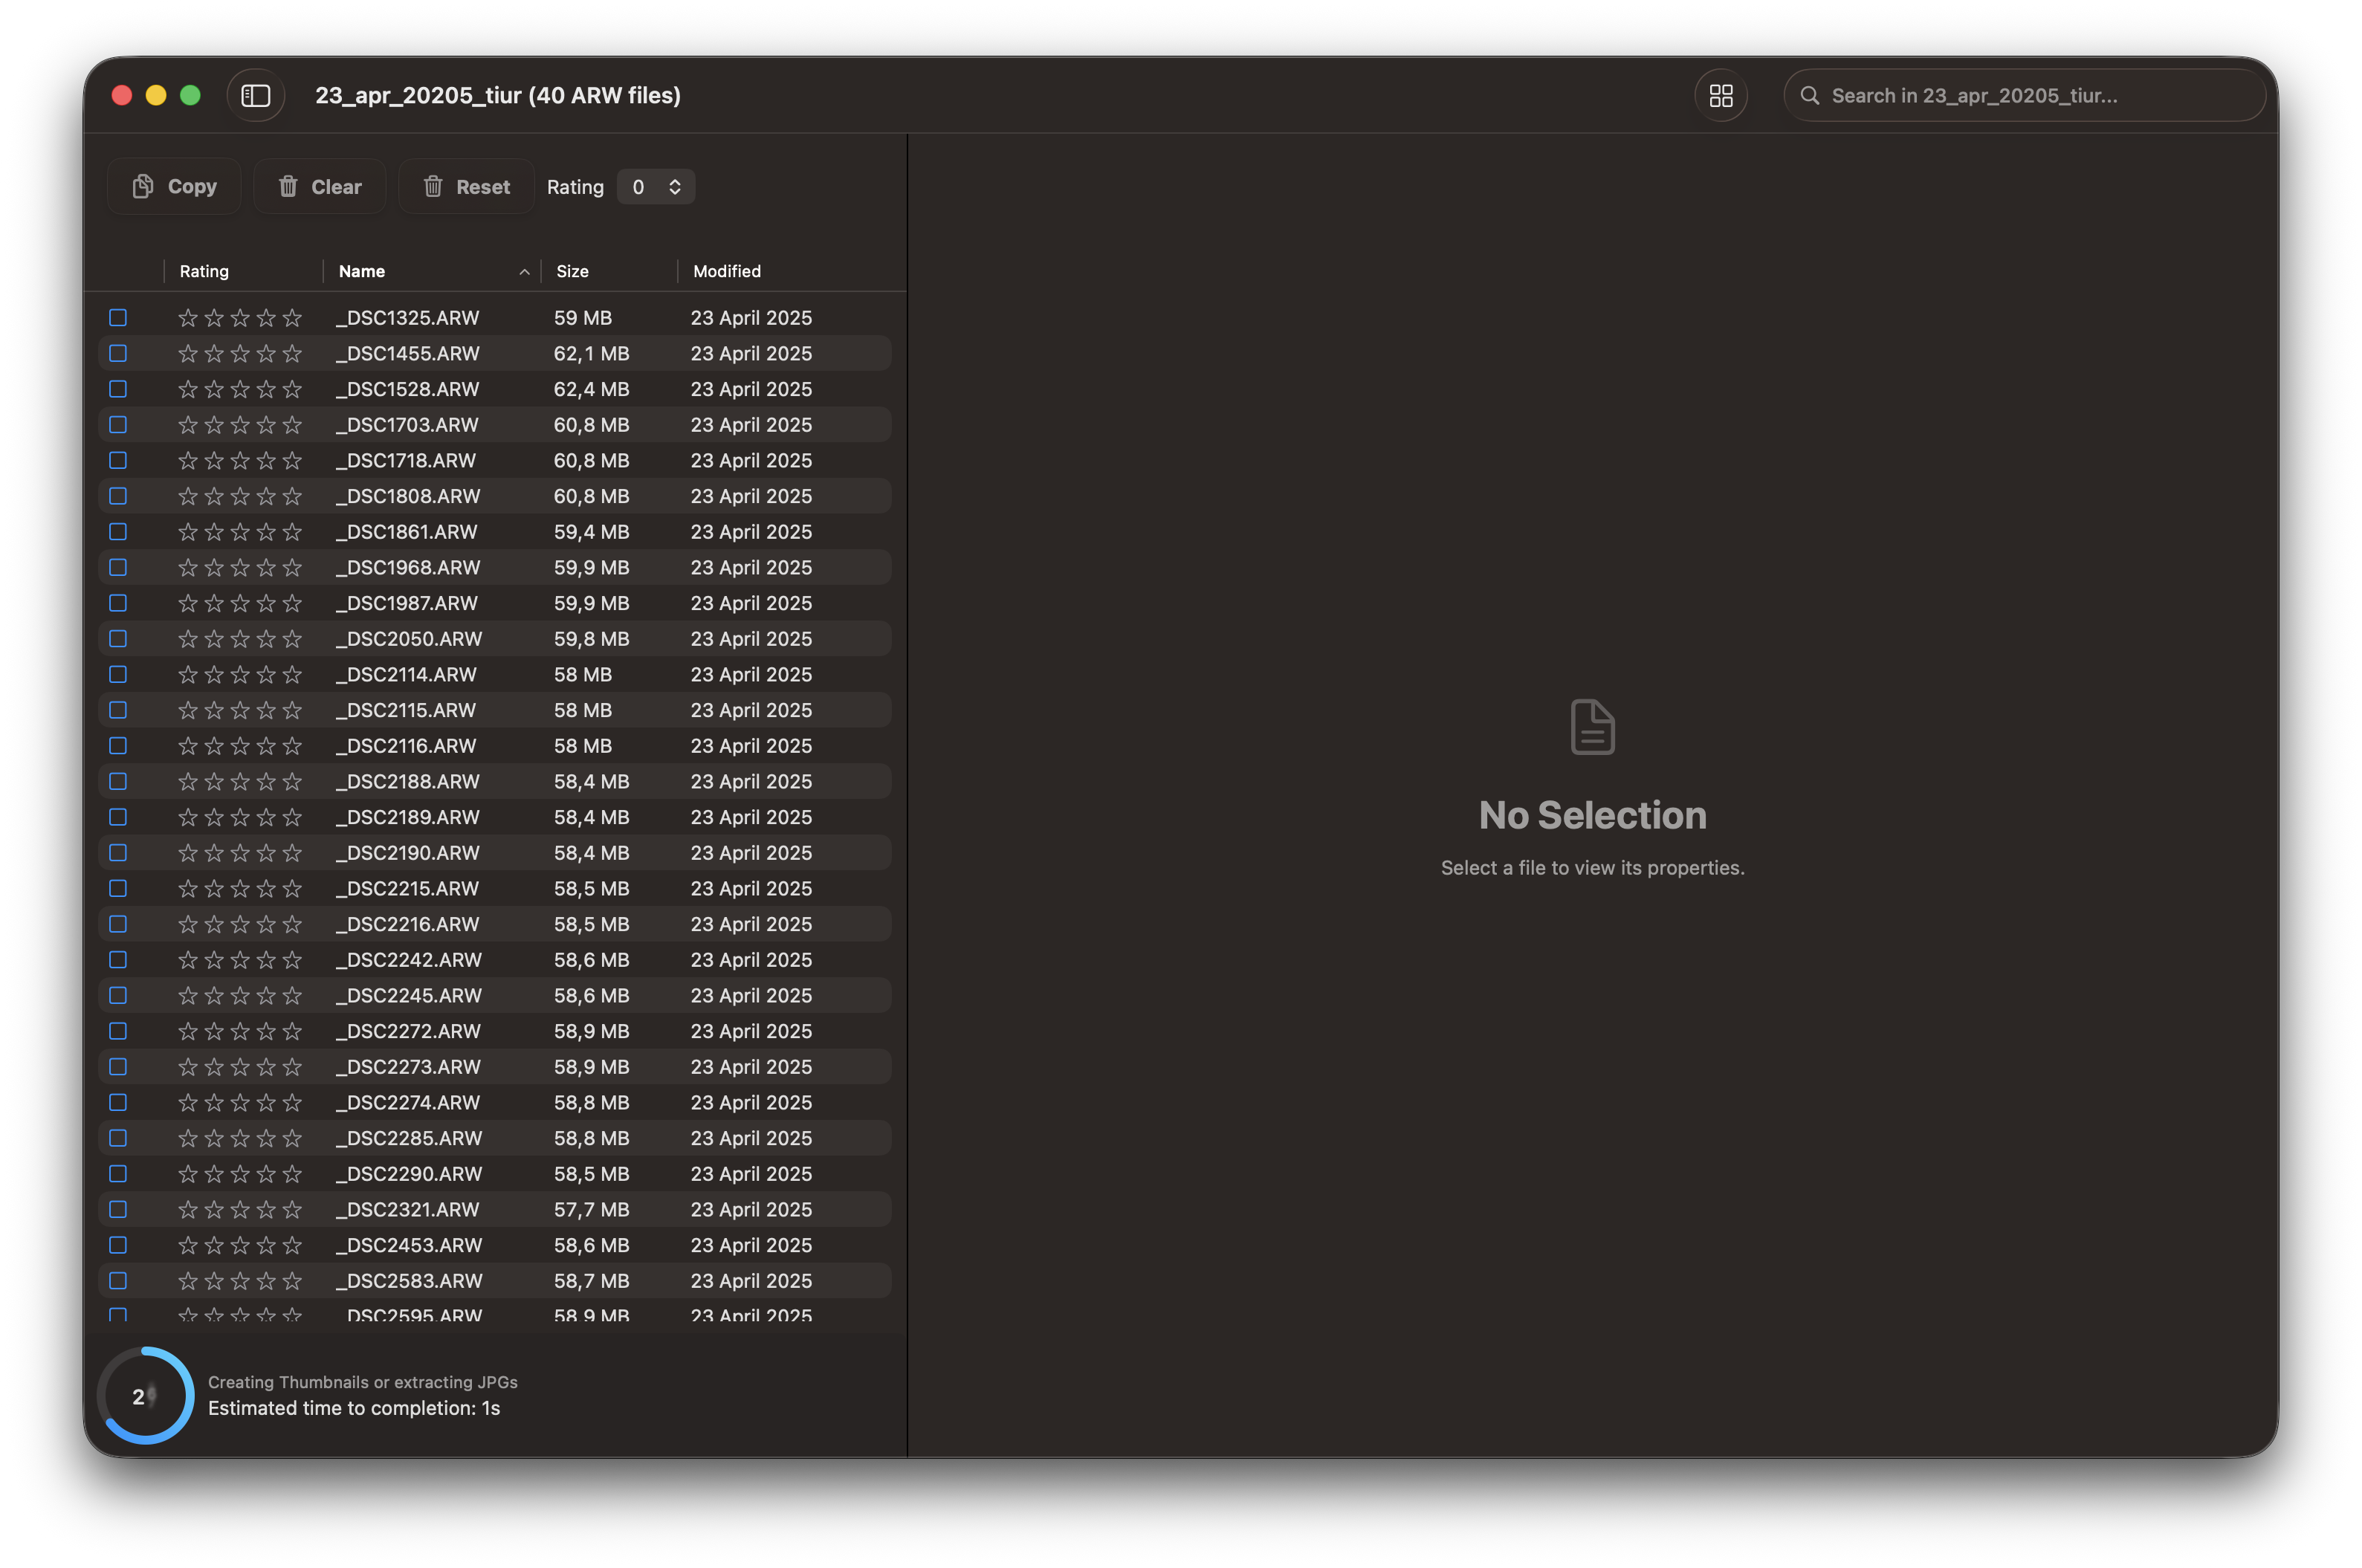
During scanning, you can monitor progress as the application indexes your images. Depending on the size of your library, this may take a few moments.
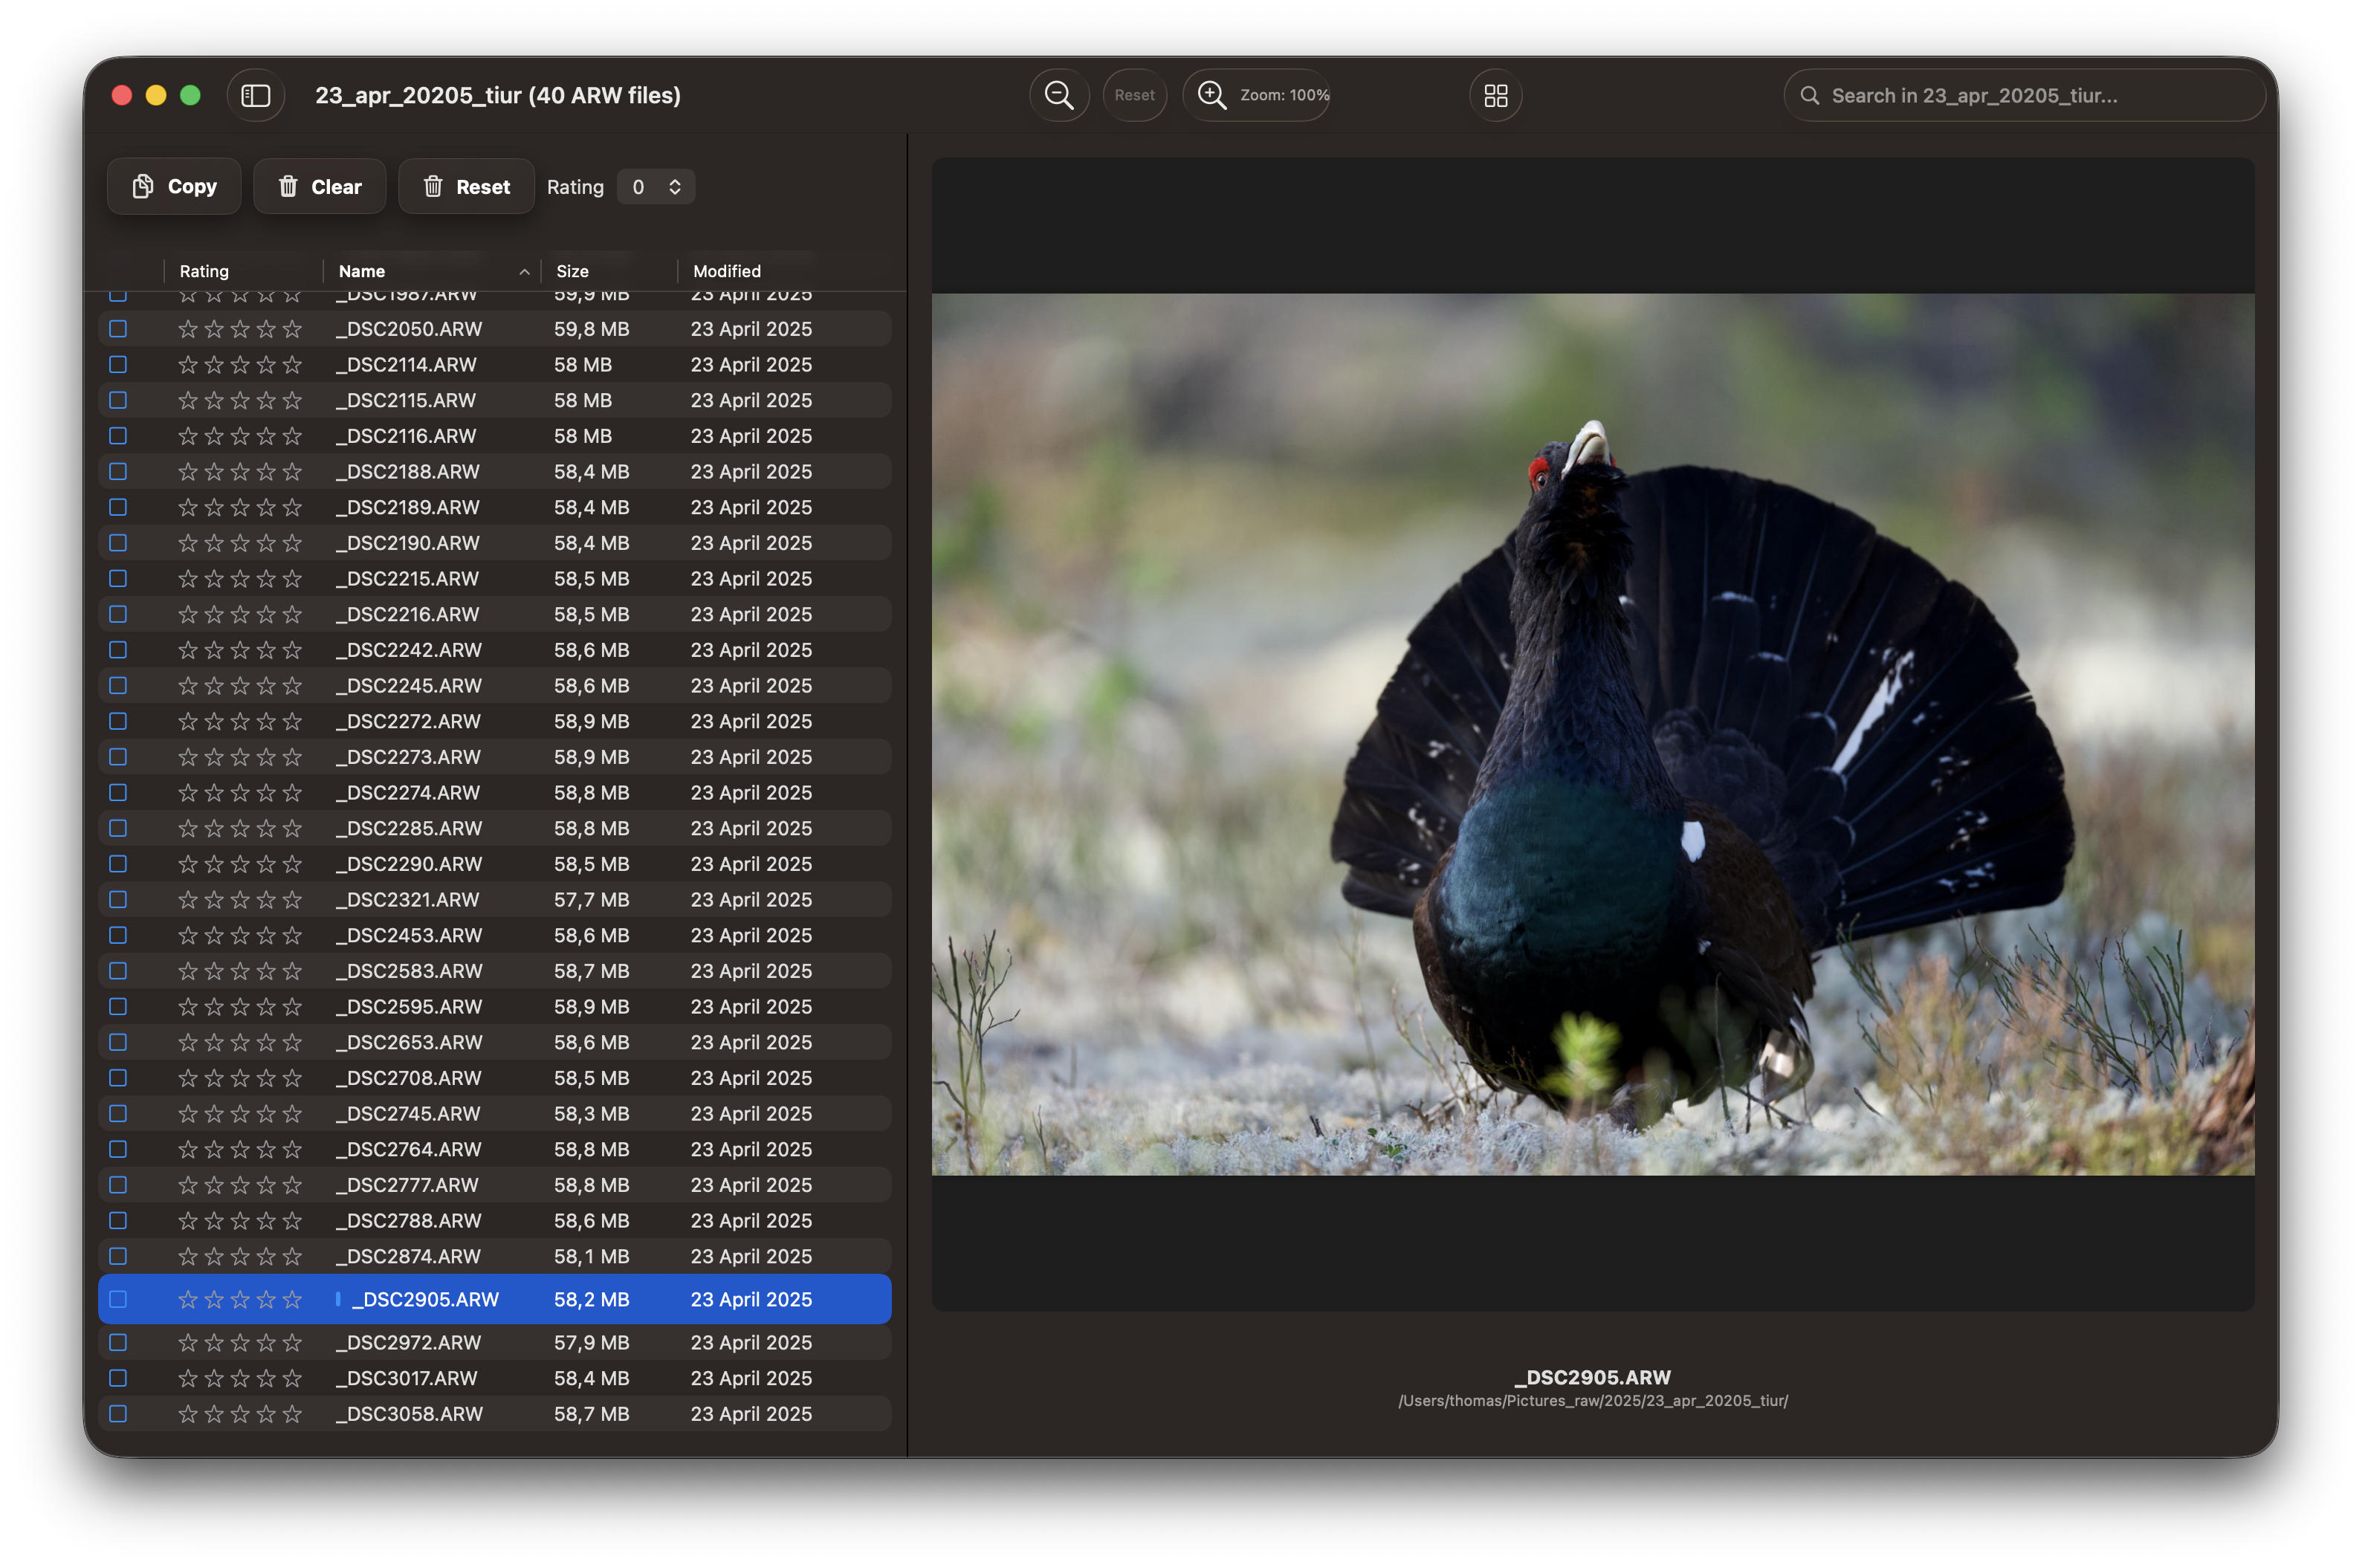
Step 2: Post-Scan Display
Once scanning completes, RawCull displays your full photo library with a thumbnail grid and preview controls ready for culling.
At this point, you can:
- Navigate through images using arrow keys or click navigation
- View the current image in the main preview area
- Mark images with your culling decisions
- Use filters to organize your view
Step 3: Review and Mark Images
Examine each photo carefully. You can view images at normal size first to get a quick sense of quality.
Persistent Marking and Session Recovery
RawCull automatically saves your marking decisions as you work, allowing you to pause and resume your culling session at any time. Your marks, ratings, and review status are saved to disk, so if you need to continue later, simply reopen the same folder and your progress will be restored.
Thumbnail Performance
Thumbnails are generated and kept in memory during your session for fast navigation. RawCull also maintains a disk cache of thumbnails for previously reviewed catalogs, enabling instant loading when you return to the same folder in the future.
Marking and Rating Photos
For each image, decide whether it’s worth keeping:
- Mark as Keep: Select high-quality photos that you want to retain for editing
- Leave Unmarked: Photos you don’t want to include in your final catalog
- Rate Quality: Assign star ratings or priority levels to marked photos based on editing priority
- Review Later: Mark questionable photos for later review
Keyboard Shortcuts
Use these keyboard shortcuts for efficient culling (the Shortcuts may change):
| Action | Shortcut |
|---|---|
| Mark as Keep | T or By rating |
| Unmark | T if selected |
| Move to Next | ↓ |
| Move to Previous | ↑ |
| Zoom In | double click on row or photo |
| Zoom Out | double click on row or photo |
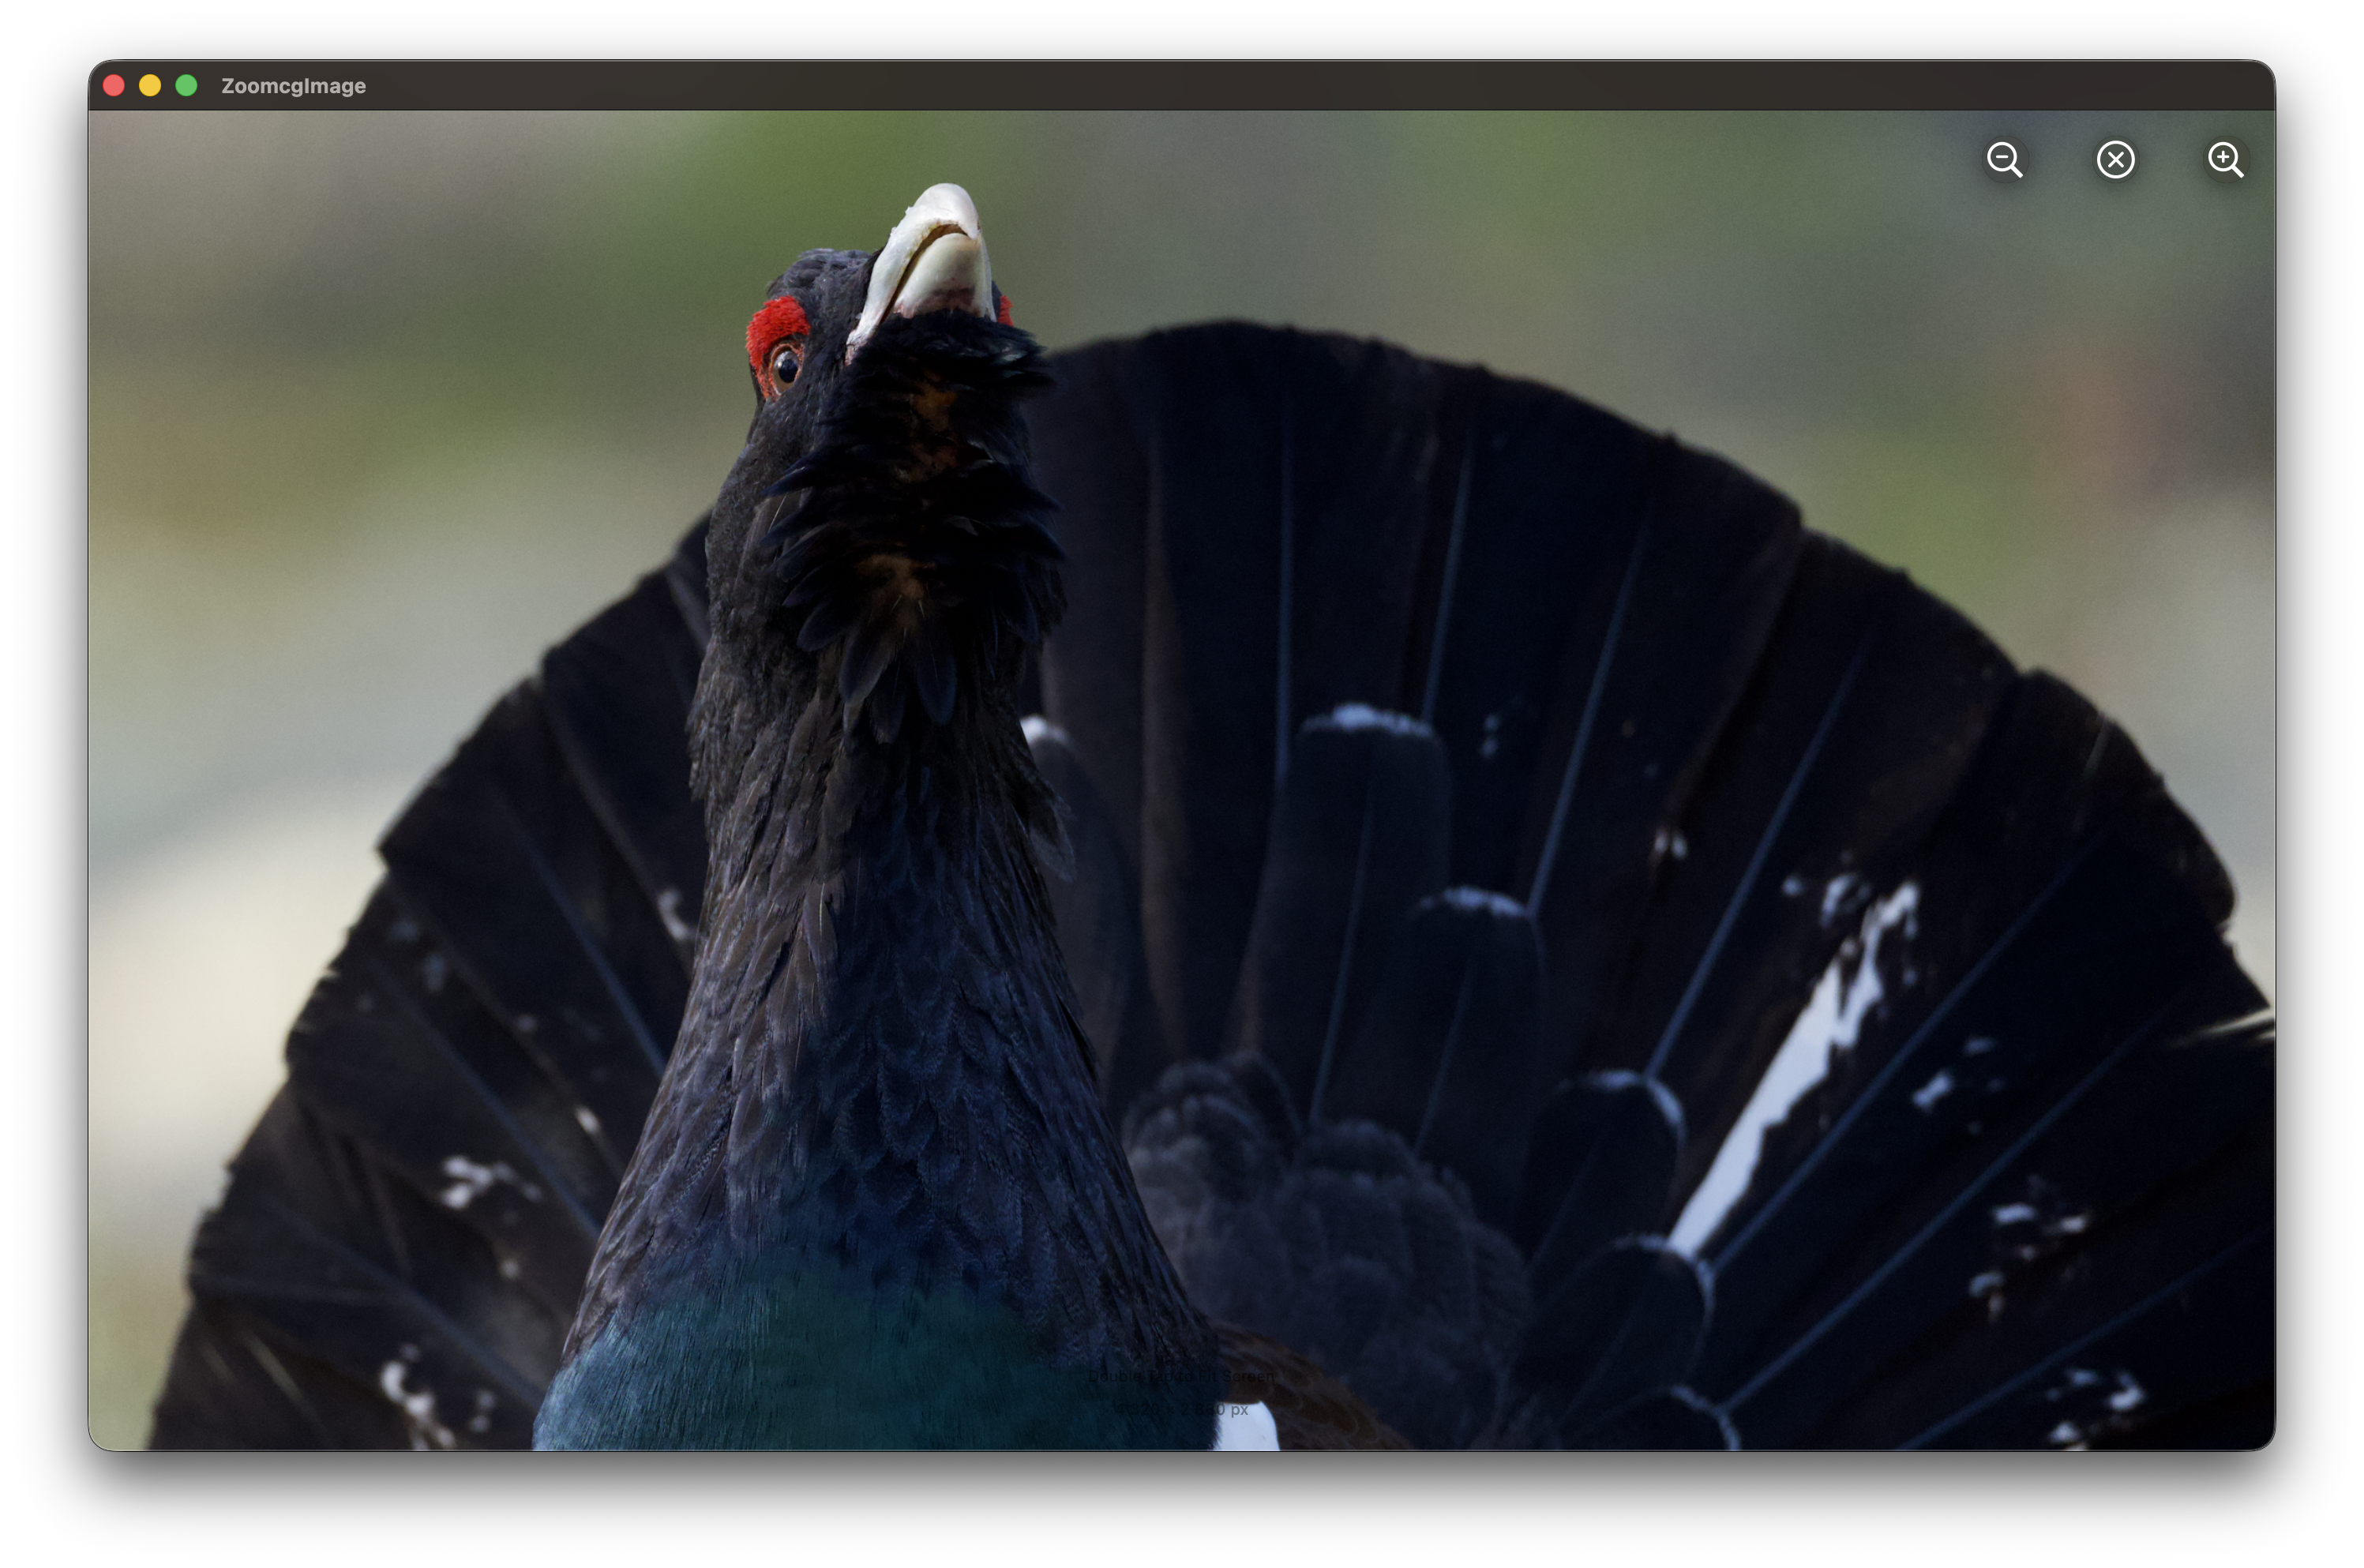
Step 4: Inspect Details
For critical decisions, zoom in to examine fine details like focus, expressions, or technical quality.
Zoomed view allows you to:
- Check if eyes are sharp and in focus
- Verify composition details
- Look for artifacts or blemishes
- Confirm technical quality before keeping
This is especially useful when deciding between very similar shots from burst mode.
Step 5: Review Your Selections
After marking and rating all photos, take time to review your decisions:
- Filter by Status: View only photos marked as “Keep” or “Review Later”
- Verify Ratings: Review the star ratings and priority levels you assigned
- Double-Check: Re-examine borderline cases
- Adjust Marks: Update any incorrectly marked or rated photos
Step 6: Copy Marked Photos to Final Catalog
Once satisfied with your selections:
- Copy Marked Photos: RawCull copies only the marked and rated photos to your final catalog
- Organize for Editing: The final catalog is now ready to import into your photo editing application
- Keep Original: Your original temporary catalog remains untouched, preserving all images from your shoot
Note: Only marked and rated photos are copied to the final catalog. Unmarked photos remain in the temporary catalog but are not copied to your editing workflow.
Pro Tips for Efficient Culling
Work in Sessions: Cull in focused sessions rather than all at once. You’ll make better decisions when fresh.
Use Consistent Criteria: Decide on your standards (sharpness, composition, exposure) before starting.
Compare Burst Shots: Use the grid view to compare similar shots side-by-side, selecting the best from each burst.
Rate as You Go: Assign ratings to marked photos based on editing priority—5 stars for must-edits, 3 stars for secondary choices.
Workflow Ready: Once copied to your final catalog, immediately import into your photo editing application to maintain workflow momentum.
Trust Your Instincts: If you have doubts about a photo, mark it for review rather than keeping questionable shots.
Check Metadata: RawCull can show image metadata (ISO, aperture, shutter speed) to help inform your decisions.
Sort by Date: Group photos by shooting date to maintain context during culling.
What’s Next?
Once you’ve culled your photos, you can:
- Continue with post-processing in your preferred editing software
- Organize keepers into collections or albums
- Create backup archives of your final selection
- Share your best work
Congratulations on completing your cull! You now have a curated collection of your best photos ready for the next steps in your photography workflow.